
New scheduled courses for training can be created.
Left click on Training/Course Schedule from the IQS menu.
Click on the schedule new course icon ![]() . A new screen will appear.
. A new screen will appear.
You can use the drop-down lists to select data by left clicking on the Drop-down list button ![]() . Then left click on the data you would like to select. You can also select data by using your up and down arrow keys on your computer keyboard to navigate through the list.
. Then left click on the data you would like to select. You can also select data by using your up and down arrow keys on your computer keyboard to navigate through the list.
When entering a date you can either enter the date manually or left click on the Calendar button ![]() and select by left clicking the date.
and select by left clicking the date.
The fields that are displayed in green are required fields.
Use your Tab key on your computer keyboard to navigate through the fields or left click on each individual field.
Once you have entered the information you can either click on ![]() to save the information or you can select
to save the information or you can select ![]() if you do not wish to save.
if you do not wish to save.
If you choose to save the information a new screen will be displayed for you to enter the instructor information.
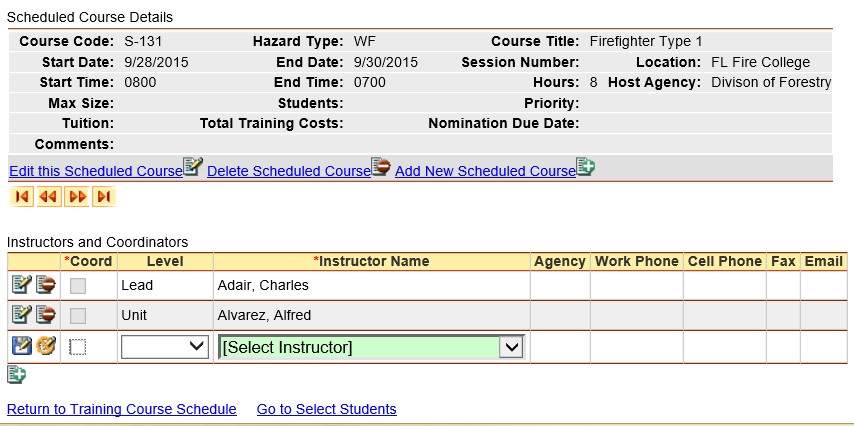
Once again using the drop-down lists enter the information in the blank fields. Make sure to check the box ![]() if the person is a coordinator rather than an instructor. If you would like to save the information click on the Insert button
if the person is a coordinator rather than an instructor. If you would like to save the information click on the Insert button ![]() . Click on the Cancel button if you choose to not save the information
. Click on the Cancel button if you choose to not save the information ![]() .
.
Left click on  to return to the Course Schedule main screen or left click on
  to select students for the selected course.